Comment on this article at the EOSHD Forum

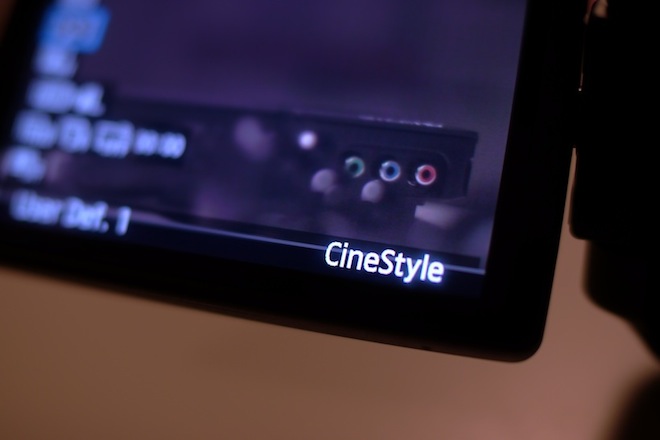
Cinestyle has transformed my Canon DSLR and footage looks so cinematic with it. The key to good looking CineStyle footage on Canon DSLRs is a LUT curve. Here is a guide on how to do all that, with Final Cut Pro and Adobe Premiere CS5.
I have had a LUT of fun with the CineStyle picture profile, it really does make for an image with much more dynamic range, and colour that you can change afterwards to any picture profile, rather than only at the time of shooting!
Think of CineStyle not as a picture profile but essentially an empty vessel for dropping your LUT into.
Gone are the questions about which picture profile to choose – now you do it afterwards when you edit the footage, and it can be changed at any time.
As well as CineStyle the LUT plugin is also free!
LUT stands for look-up-table – in techie terms a LUT consists of a table of cross referencing values, from 0-255 (8bit colour) which form a curve when plotted on a graph. In practical terms you just need to know that using Technicolor’s preset LUT will grade your image and remove the flat grey mist from ungraded CineStyle footage, making colour more lifelike but keeping more dynamic range and smoother gradated tone.
You can customise the LUT curve on a graph yourself using grading software or plugins in your NLE (non-linear-editor) package.
What are the advantages of CineStyle?
DSLR footage is nothing like a RAW image or 250Mbit ProRes 4-4-4 footage where so much colour data is stored in each frame that you can play with it willfully and extract colours that are not apparent in the original footage. With DSLRs you are usually stuck to an approximation of what the original footage looks like.
As well as that, blacks tend to be crushed easily – shadow detail disappears and turns black. The image looks contrasty but there is not a gradual fall-off from shadows to black, and there is an overall reduction in dark detail. It has the hallmarks of HDV not cinema.
Highlights too can suffer with normal colour presets, especially if you compensate for missing shadows by upping exposure – light sources and shiny surfaces can become ugly splotches of white with ugly neon outlines.
With CineStyle exposure isn’t as critical an issue, it is harder to accidentally eliminate shadow and highlight detail when shooting.
Standard DSLR video footage lacks dynamic range compared to the amount the sensor is capable of producing in RAW stills mode, and CineStyle gives you a lot of it back!
CineStyle gives you more ability to choose the look of your footage whilst editing, whether it is hazy low contrast but detailed, or contrasty and punchy – dynamic range does not have to suffer as much, and the gradated tones – the transition from light to dark shades of all kinds of colour is smoother.
As a result footage looks smoother like cinema – less electronic and less like video.
Doing it
So let’s get started. Grab Technicolor CineStyle from here (you will need to fill in your details to download) if you don’t already have it. Make sure you download the LUT (Technicolor_CineStyle_v1.0.pf2) from the same page!
Now you will need the Canon software CD-ROM that came with your camera since it contains the EOS Utility software. Install that and make sure it is updated to the latest version. It is not available to download from Canon but updates are available here.
I used a 600D in this example – and with the camera set to movie mode I was unable to install CineStyle in the EOS Utility software since the button for opening a custom picture profile was greyed out. Switching to M (manual stills mode) on the camera enabled me to get around that, and install CineStyle on the camera as User Preset 1. I recommend reading the Technicolor installation guide here
Technicolor recommend ISOs in multiples of 160 where possible, for better noise performance. They also recommend sharpness to 0, contrast -4 and saturation -2. These can be adjusted on the CineStyle user preset on-camera, like normal picture profiles are adjusted.
So with the camera in movie mode and the user preset / CineStyle selected, you’re ready to shoot.
Next step is to import your footage into the NLE to get editing and grading. I use Final Cut Pro and Adobe Premiere CS5, and the LUT Buddy plugin from Magic Bullet. Be sure to restart FCP or Premiere after installing the plugin. It’s free and allows you to load the Technicolor grading LUT you downloaded at same time as CineStyle.
Once applied in LUT Buddy this will give your footage it’s lifelike colour back, whilst maintaining the dynamic range, shadow detail, highlight detail and smooth gradated tones which are the benefit of CineStyle.
If you prefer to make your own LUT, you can grade the image however you please. Technicolor recommend an S-curve shaped LUT, so in Premiere Pro CS5 for example you can use Magic Bullet Looks to change the RGB curve since this works on the premise of a LUT. Looks also works as a plugin but it isn’t free! You can also change gain and gamma via Magic Bullet Looks as well as the LUT curve.
Conclusion
I have to admit I was never a big fan of grading footage, selecting the right picture profile on a DSLR was key to me. The right profile depended on what I was shooting and my singular vision for the project I had in mind. Now that pressure is off.
I can shoot knowing that the optimal picture profile can be applied afterwards.
It’s the poor man’s HDRx, or the DSLR shooter’s S-LOG.
It is also nice to have all that shadow detail back, along with more dynamic range, smoother gradated tones and better handling of highlights.
I will compare the footage to the GH2 in Cinema Gamma mode soon. The GH2 picture profile aims to do the same thing as Technicolor. Is it as successful? I am not sure. Having Technicolor’s support and expertise really elevates CineStyle, and that they provide a LUT to apply instantly is a huge bonus – it means that even if you want better dynamic range and smooth tonal range you don’t have to be an expert in colour grading software to reap the benefits.
The post Hands-on guide to Technicolor Cinestyle, LUT curves and Canon 600D appeared first on EOSHD.


